A deck isn't something you want to install twice. What you build today should still look perfectly finished ten years from now: no loose boards, no warping and no visible screw heads breaking through the surface.
Follow the correct installation process and laying a Millboard deck is more straightforward than you might think. We’ll take you through the entire process, from the first joist to the final finishing profile.
Home » How to Install Millboard Decking: A Step-by-Step Guide
27-08-2026
Patrick Smidt
What Do You Need Before You Start?
Your deck is only as strong as the structure beneath it. That's why it's important to use materials suitable for installing Millboard:
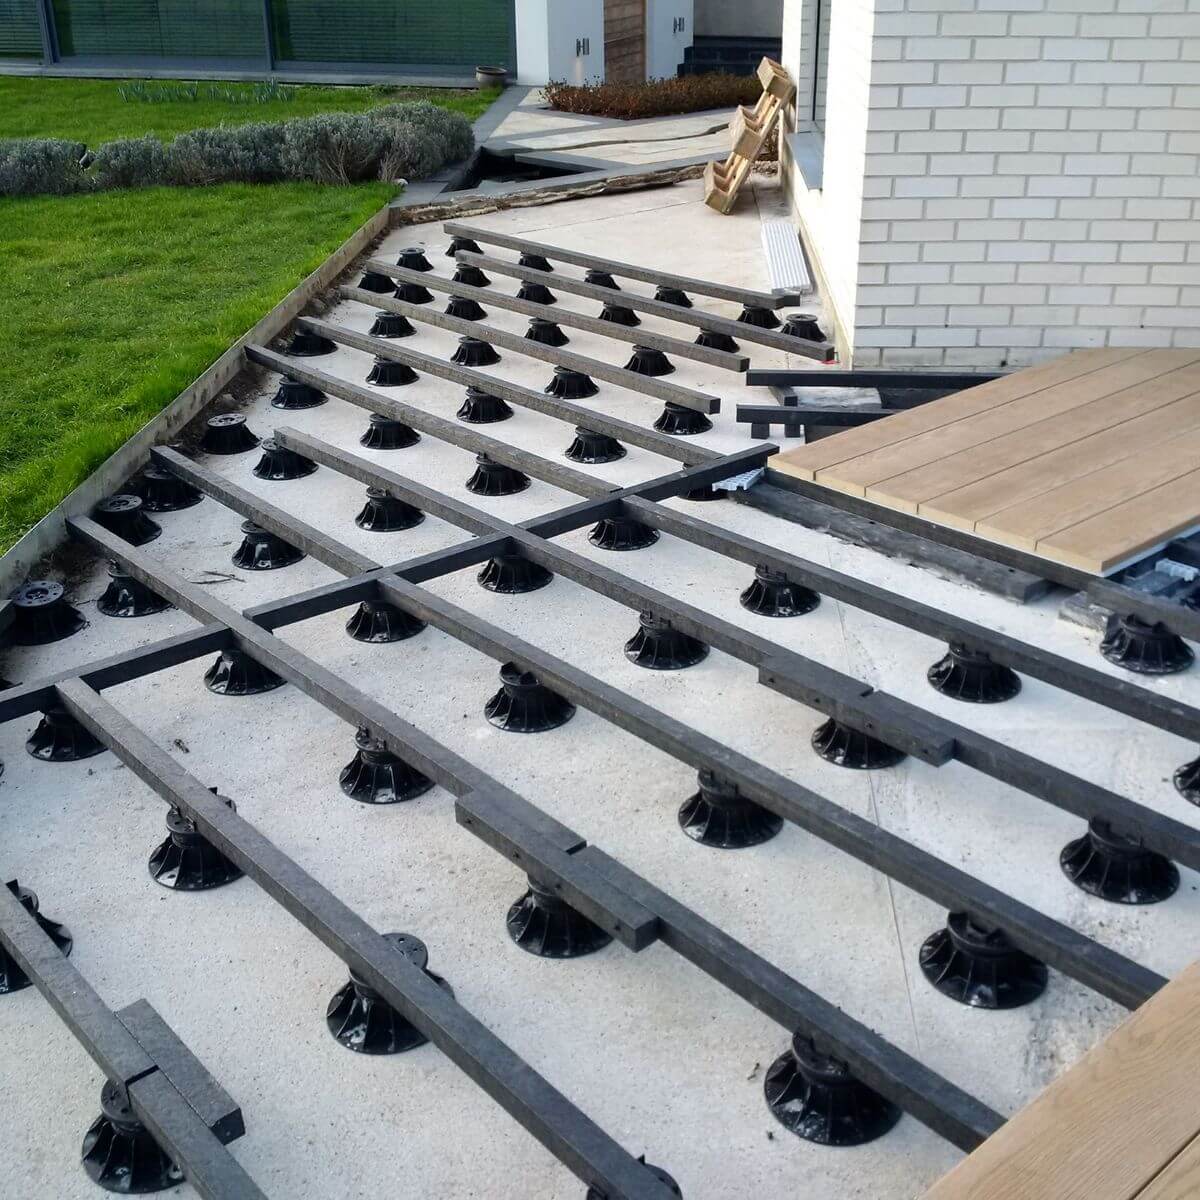
Plas-Pro joists as the supporting structure beneath the decking boards
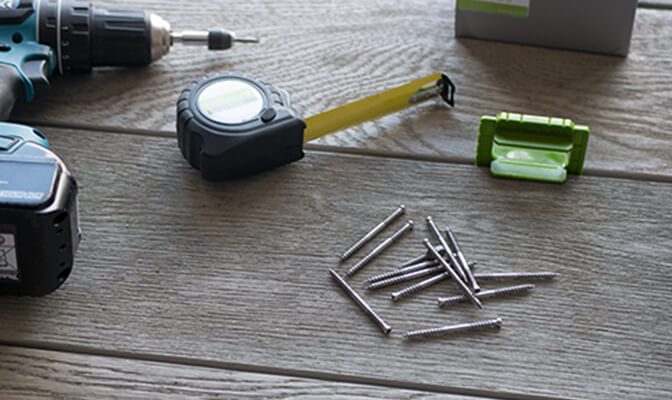
Durafix® screws for fixing the boards to the joists
Saw blade with hardened teeth
Standard drill/driver with the supplied driver bit
Silicone spray to lubricate the screws before installation for the best finish
FFP3 dust mask, safety glasses, long sleeves and gloves
String line to check that the boards remain straight
Adhesive for mitred corners
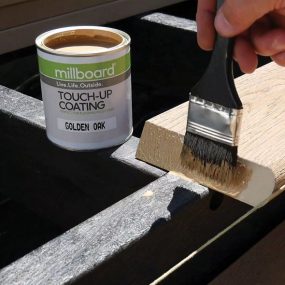
Matching touch-up paint for finishing steps and raised areas
Warm soapy water and a broom to clean the boards if they become dirty during installation
Step 1: Prepare the Ground and Subframe
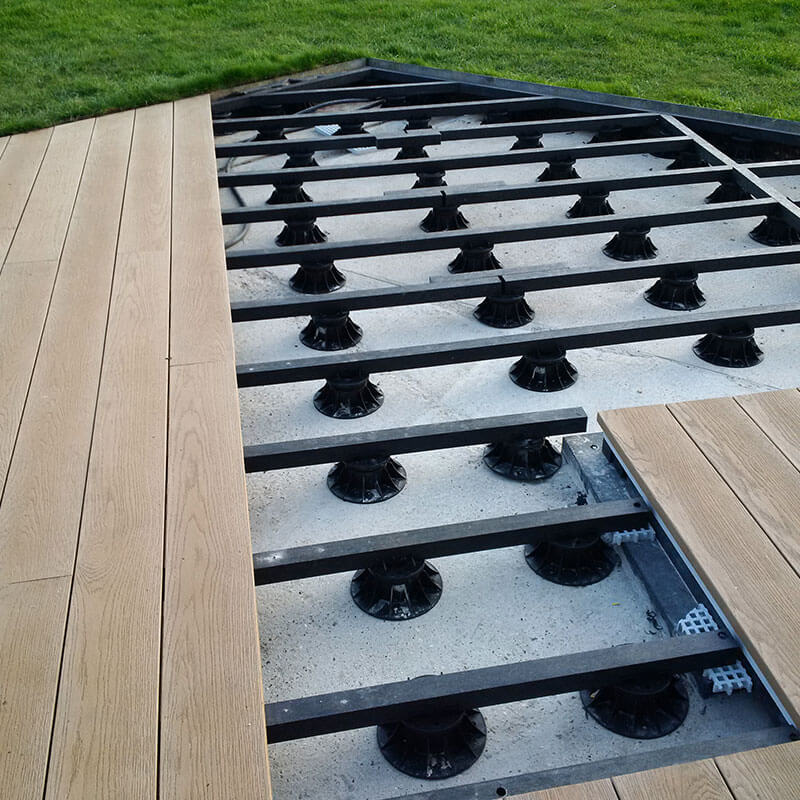
Whether you’re installing your first deck or you’ve already built dozens, the foundation and subframe largely determine how straight and stable the finished deck will be.
Install the subframe on a flat, stable surface. If this isn’t possible, provide adequate support at intervals of no more than 400 mm. When storing the boards, stack them face-to-face and back-to-back. Never drag boards across one another when removing them from the pallet, as this can cause scuff marks or damage to the surface.
What Joist Spacing Should You Use?
Residential applications: maximum 400 mm centres
Commercial or public applications: maximum 300 mm centres
Joists at a 45-degree angle: maximum 300 mm centres for residential applications or 240 mm for commercial/public applications
Where board ends meet, make sure both ends are adequately supported by the same joist. You can find the complete installation instructions on our website.
Step 2: Lay Out the Boards Before Installation
Lay the boards loosely in position a day before installation, exactly where you intend to fit them. This allows you to create a natural mix of grain patterns and colour variations across the deck while giving the boards time to acclimatise to the outdoor conditions before fixing them in place.
Step 3: How Much Space Should You Leave Between Decking Boards?
One of the most common questions when installing decking is how much space to leave between the boards. For Millboard, use the following spacing:
Between the sides of the boards: 3–6 mm
Between board ends: 1–2 mm
Between a board and a fixed surface such as a wall or upstand: 10 mm to allow adequate drainage
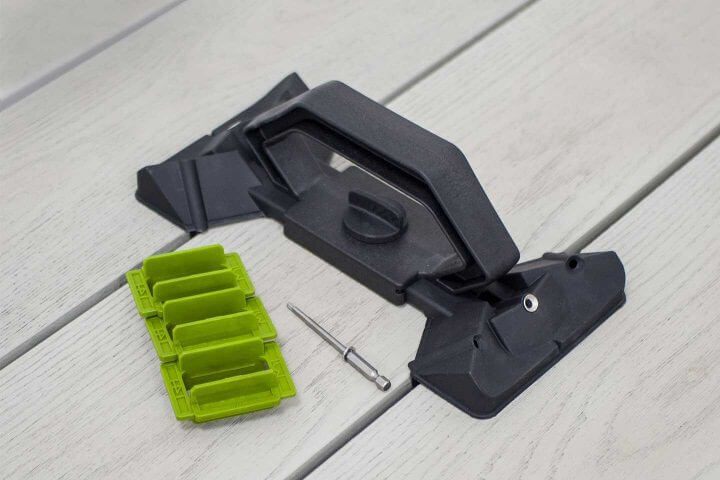
Don’t want to measure every gap individually? Millboard Multi-Spacers make the process easier. Simply place them between the boards to maintain a consistent 6 mm gap.
Step 4: Fix the Decking Boards
With Millboard, there’s no need to pre-drill or countersink. The Durafix® screws can be driven directly through the board.
Use a standard drill/driver with the supplied bit. Avoid using an impact driver or hammer drill, as this can damage the bit or screw head. For the best finish, apply silicone spray to the screws before installation and maintain light downward pressure while driving them in. This helps prevent a gap from forming beneath the screw head.
Once the screw has been driven into position, Millboard’s Lastane® surface closes back over the screw head. The fixing sits at least 5 mm beneath the surface, leaving it virtually hidden from view.
After every four or five boards, use a string line to check that the deck is still running straight. A few minutes of checking during installation can save hours of correction later. Want to see exactly how it’s done? Watch the installation video before driving your first screw.
Step 5: Cutting Millboard to Size
Millboard can be cut using many of the same tools used for natural timber. For the best results, use a saw blade with hardened teeth. Millboard has very low thermal expansion, so a gap of 2 mm at the board ends is sufficient.
A mitre saw generally gives the cleanest result for straight cuts. For edges, curves and cut-outs, you can use a hand saw or jigsaw. Always wear appropriate safety glasses and gloves when cutting.
For a clean corner detail, mitre-cut the boards and bond them together. Finish exposed cut ends with the appropriate touch-up paint to restore a consistent appearance.
Edges and Finishing Details
Matching edging boards, step edges and fascia boards are available for steps, raised areas and other finishing details. If a cut edge remains visible where no finishing profile is used, apply matching touch-up paint just as you would to the cut ends described in step 5.
Using a mitred corner in your design? Cut it from the centre of the board to preserve the natural variation in grain patterns. Use PU adhesive for the core and cyanoacrylate adhesive for the surface. When installing two edging profiles alongside each other, use a 20-degree cut so they overlap neatly.
If you’re using step edges, make sure they are supported along their entire length by a joist, with at least 25 mm of their total width supported.
Cleaning During Installation
If the boards become dirty while you're working, clean them as soon as possible using warm soapy water and a broom.
Frequently Asked Questions About Installing Decking
The total cost depends on the size of the deck, the material selected, the condition of the existing ground and whether you install it yourself or use a professional installer. Want to know what your project is likely to cost? Contact an installer in your area for a tailored quotation.
A flat, stable base provides the best starting point. Where this isn’t available, use a suitable subframe with support points no more than 400 mm apart. A correctly designed subframe helps prevent excessive movement or deflection and keeps the deck stable over the long term.
Installing the deck yourself is generally less expensive than outsourcing the entire installation. However, don’t compromise on the subframe or fixings. Saving money on essential installation materials can result in higher costs later through repairs, premature wear or an incorrectly installed deck.
Prefer to Leave the Installation to a Professional?
Not sure whether you want to install the deck yourself, or simply don't have the time? Find a Millboard installer or display location near you and ask about the possibilities for your project.
This remnant stock has only been used for five days at a trade fair. The boards have not been screwed down, so they are still completely new. However, the floor is dirty and needs to be cleaned with soap and water before use. Includes fastening materials, transport with forklift truck, and VAT. Matching substructure available at extra cost.
Normal retail price: €12,500
Special offer price: €6,250